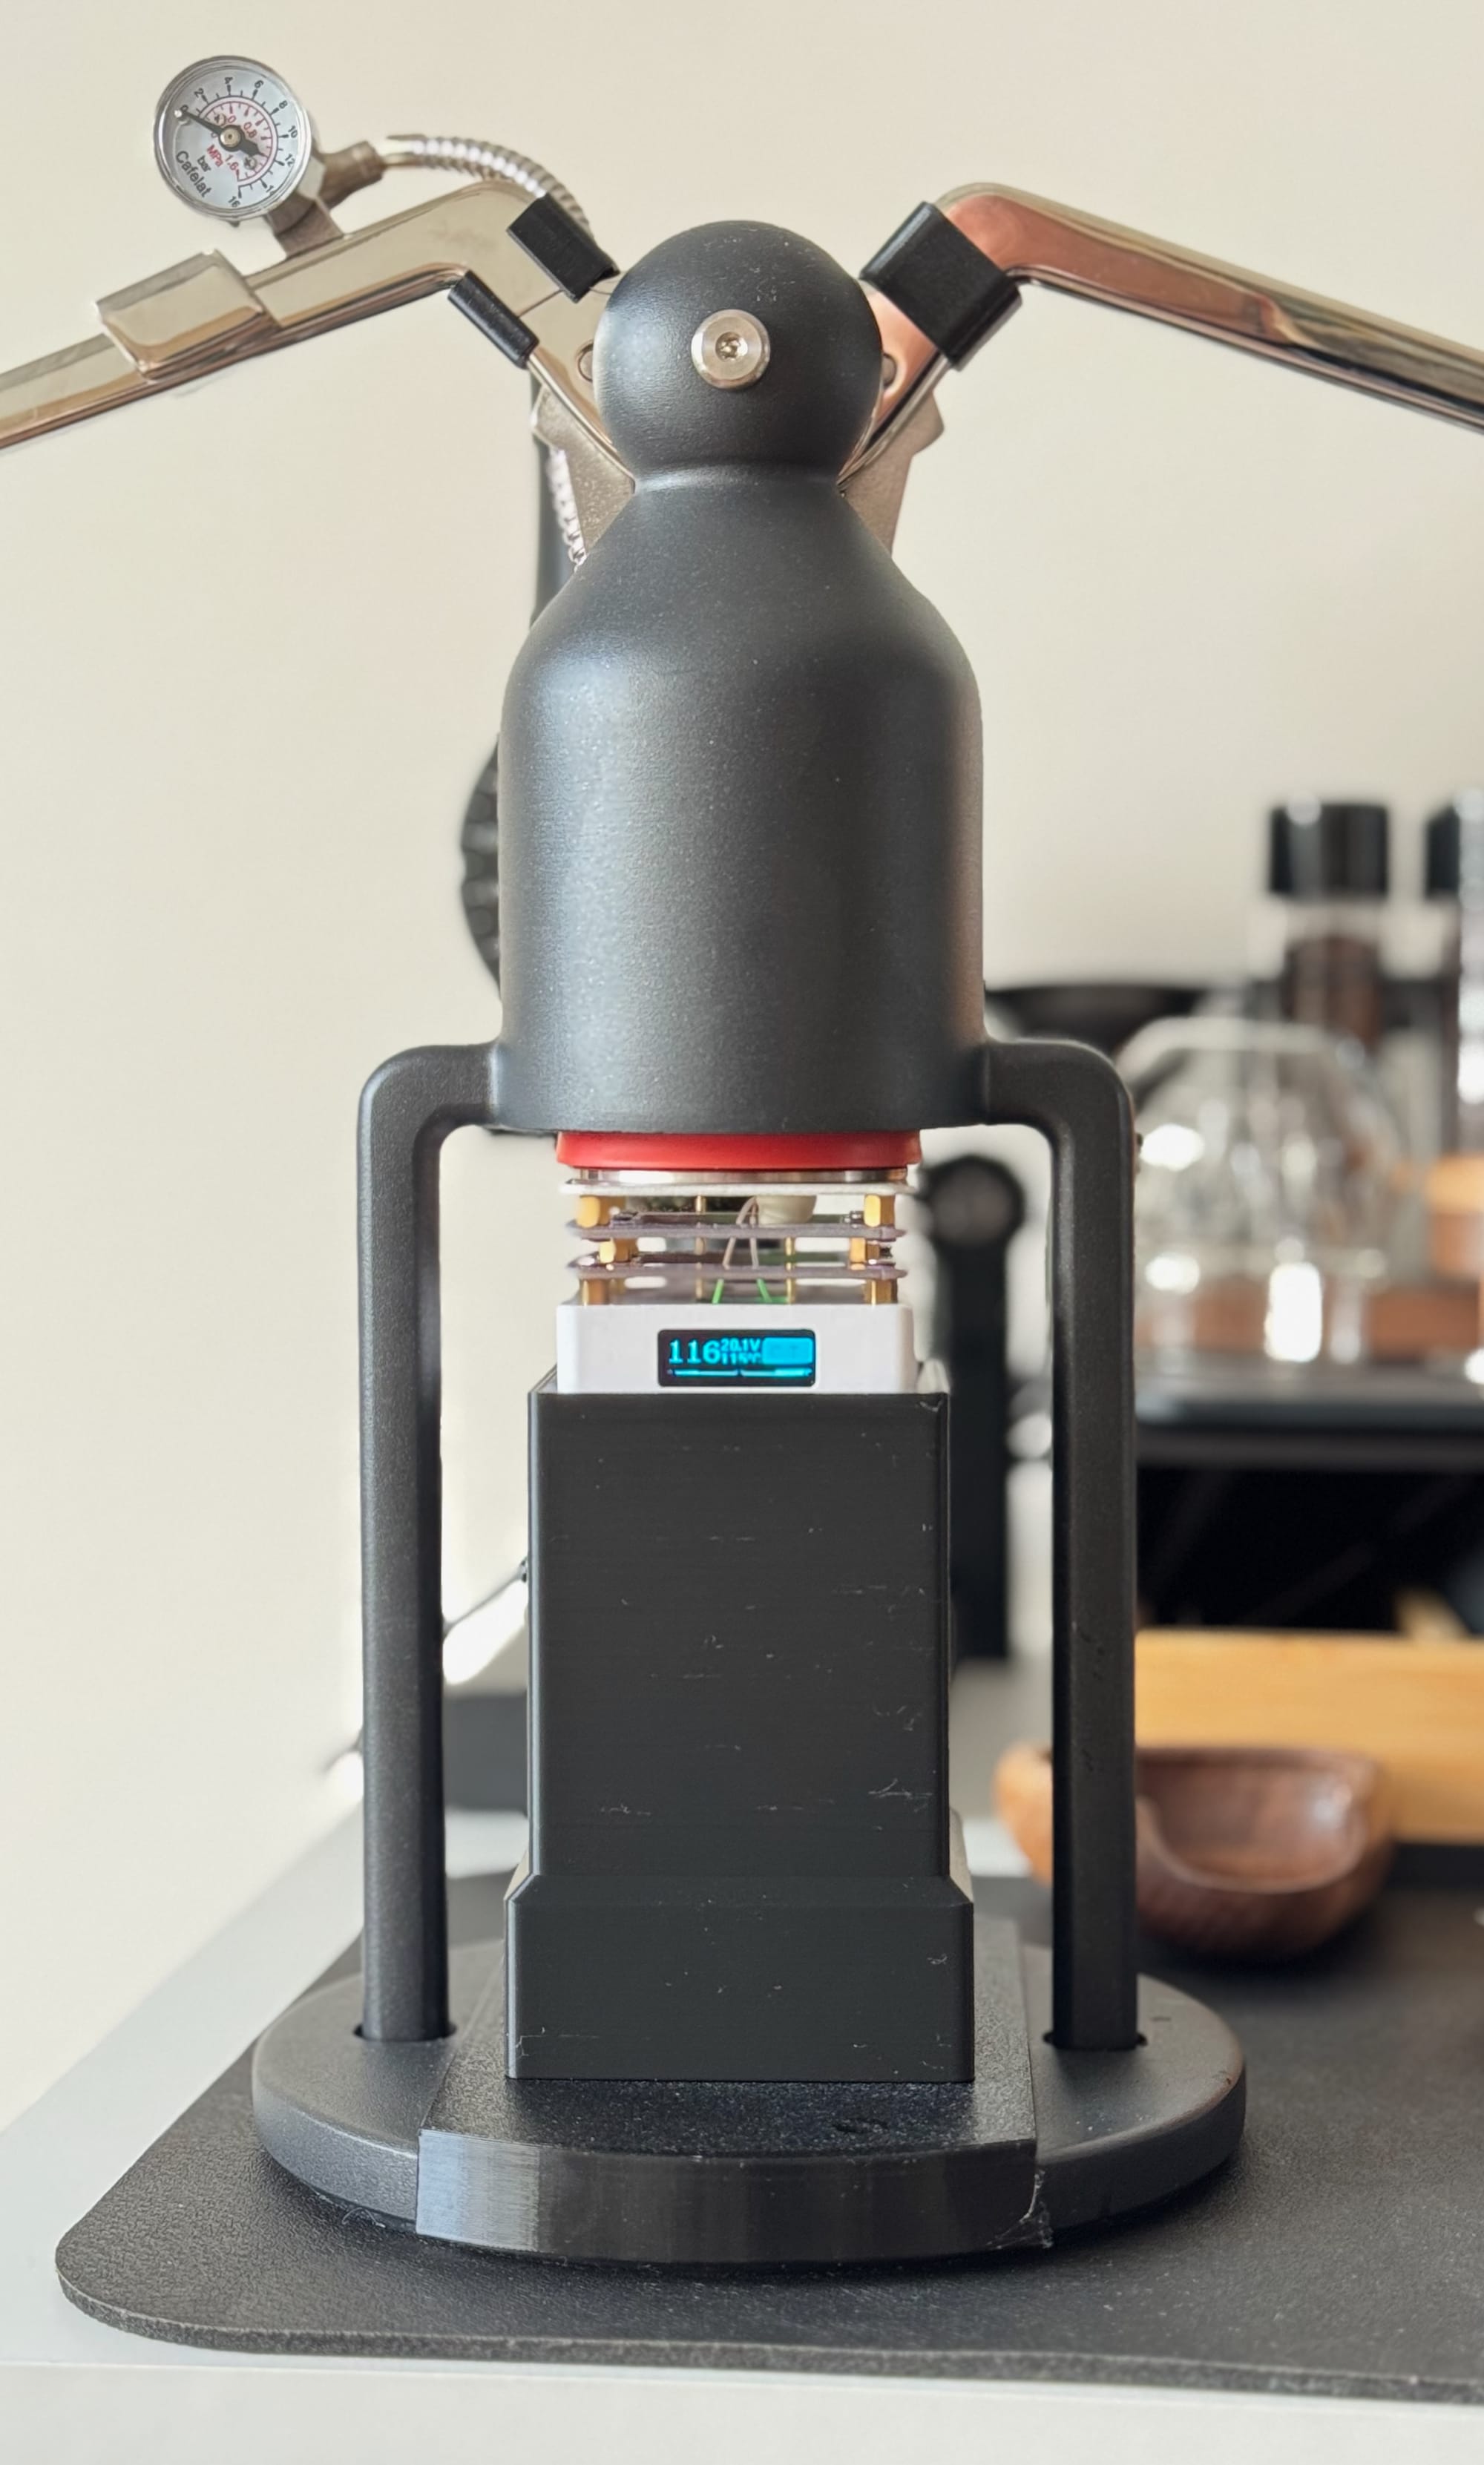
Preheating the Cafelat Robot
Preheating the Cafelat Robot with a G3061 heat plate.
While the Cafelat Robot by Paul Pratt is a great espresso maker, even for spoiled coffee nerds, it struggles with light-roasted beans, which require quite high temperatures around 93°C.
The Robot's large metal piston and comparatively smaller, thin-walled filter basket need to be preheated to prevent rapid temperature drops from around 100°C to, in my tests, 85°C in mere seconds.
While medium to dark roasts typically develop good flavor even below 93°C, light roasts struggle to reach their full potential and can't fully develop the expected flavor.
Initially, I wondered why this happens. It's not the fault of the thin-walled, naked portafilter basket. If filled with boiling water, it quickly stabilizes above 93°C long enough to start brewing. I preheat it anyway on my kettle, but this does helps just a little bit.
The issue seems to lie with the piston. At first, I thought, "Air can't absorb heat that quickly, can it?" But it turns out that it does. Especially when compressed into steam, as illustrated in this video featuring a custom transparent basket.
This is why preheating the piston seem to be crucial for success with lighter roasts using the Cafelat Robot.

So how do you preheat it? Initially, I used a ceramic geripptes glass. Not exactly barista-approved, but it works. Filling it twice with boiling water does the trick, but this is time-consuming, wasteful, and not particularly fun.
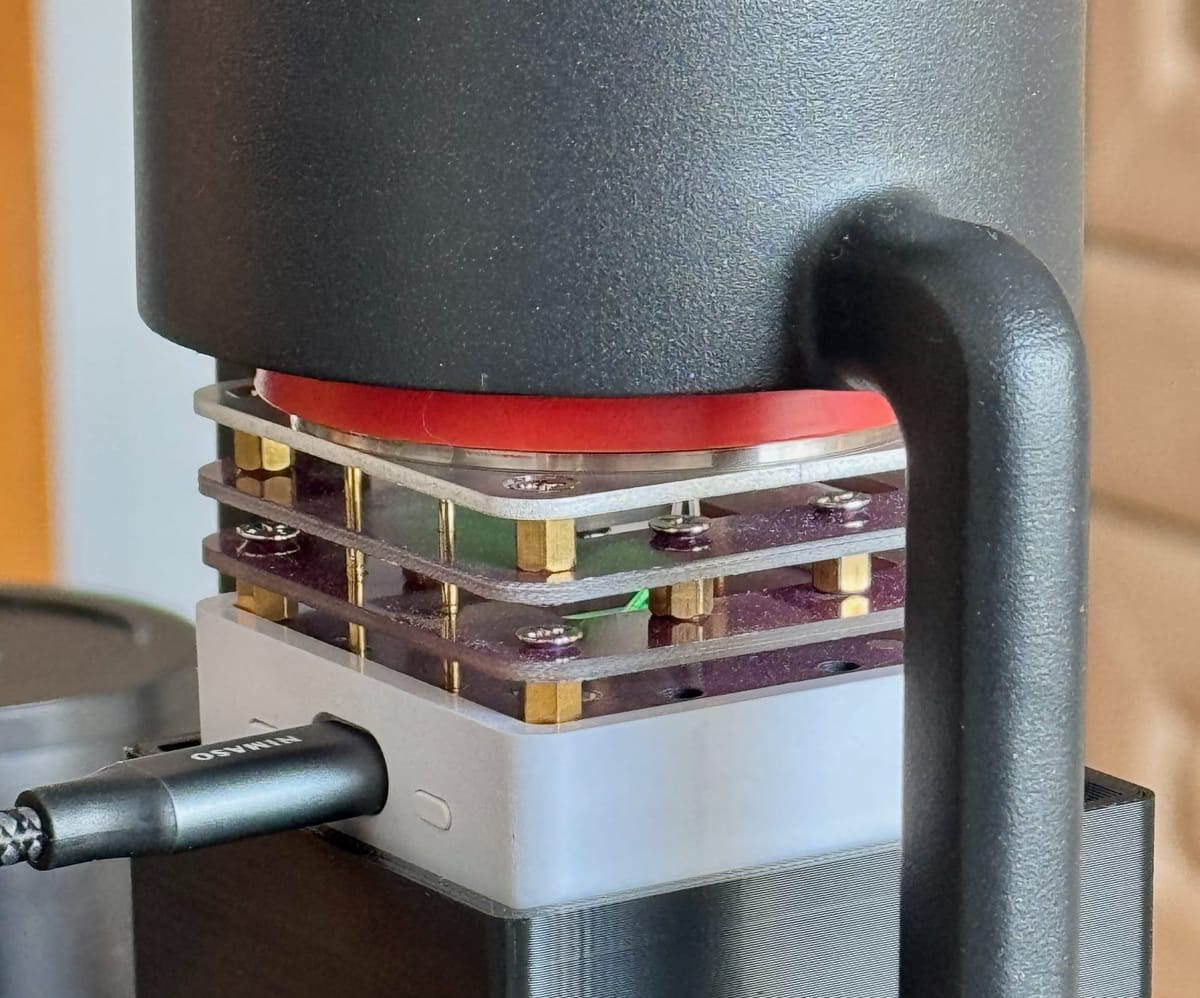
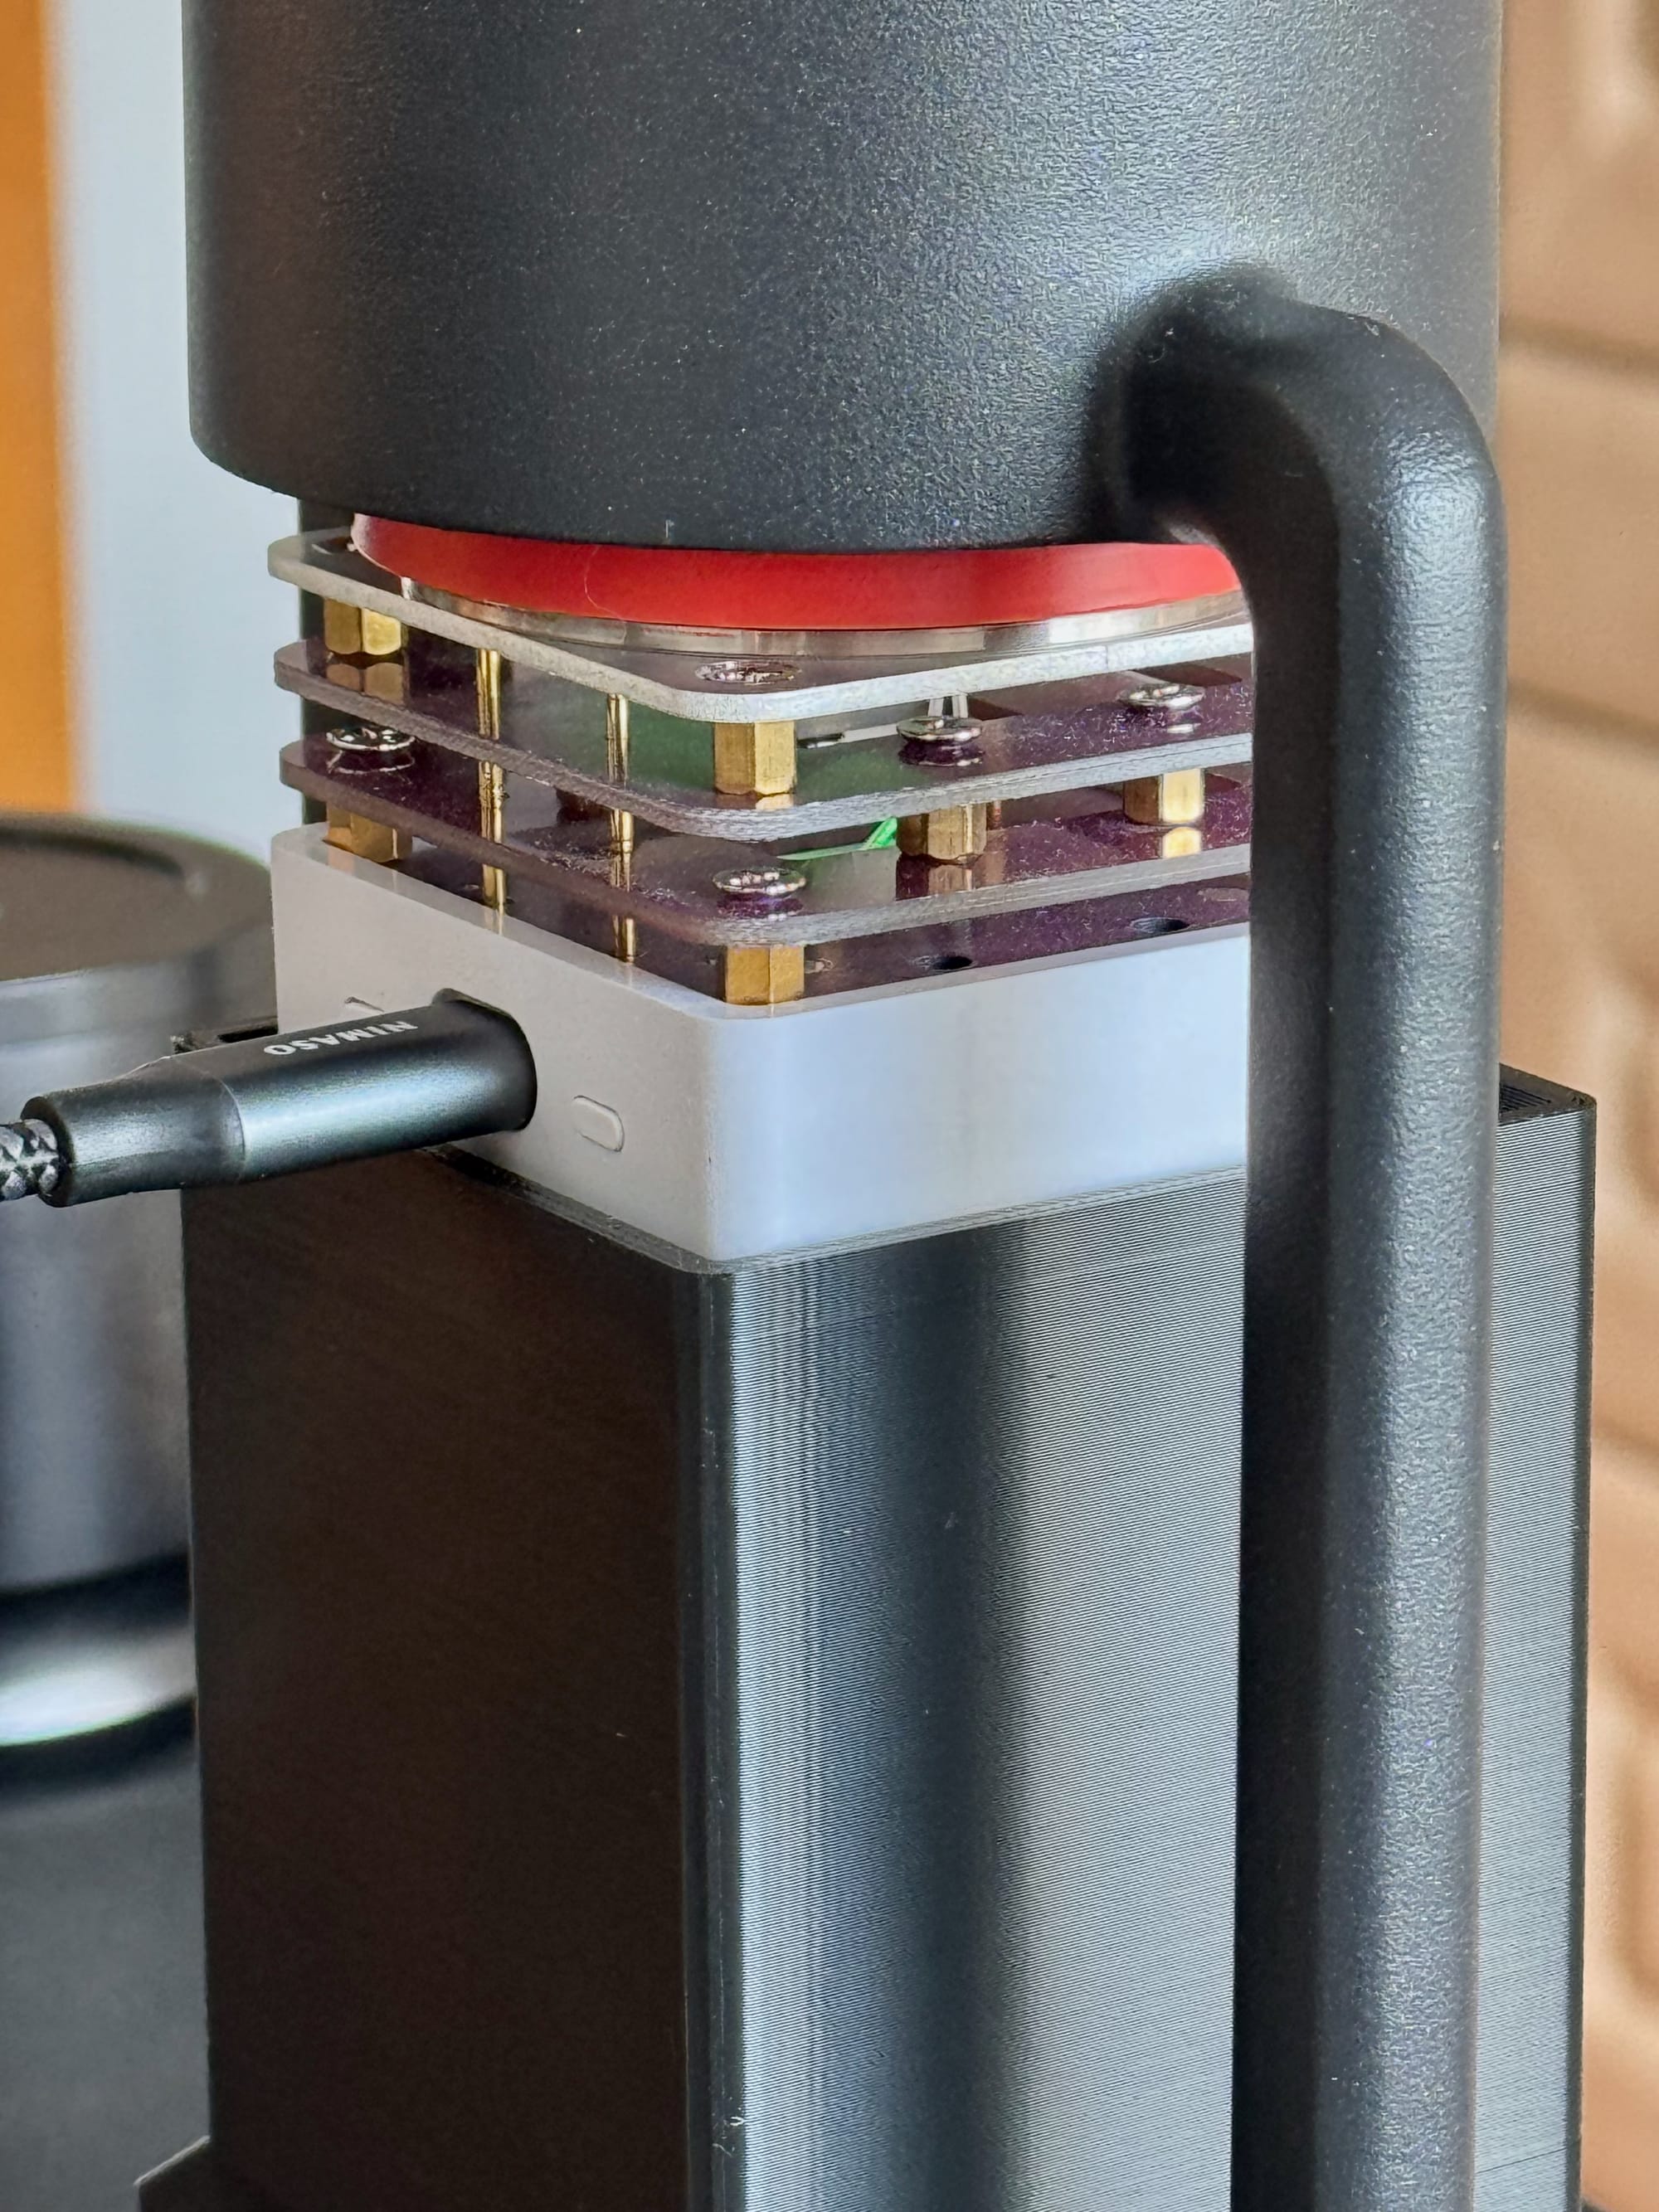
Thankfully, Niclas came up with a much more efficient solution: using a G3061 PD65W heat plate to warm the piston. This PID-controlled plate can easily exceed 100°C and is powered by a modern USB-PD charger. It's also quite cheap.
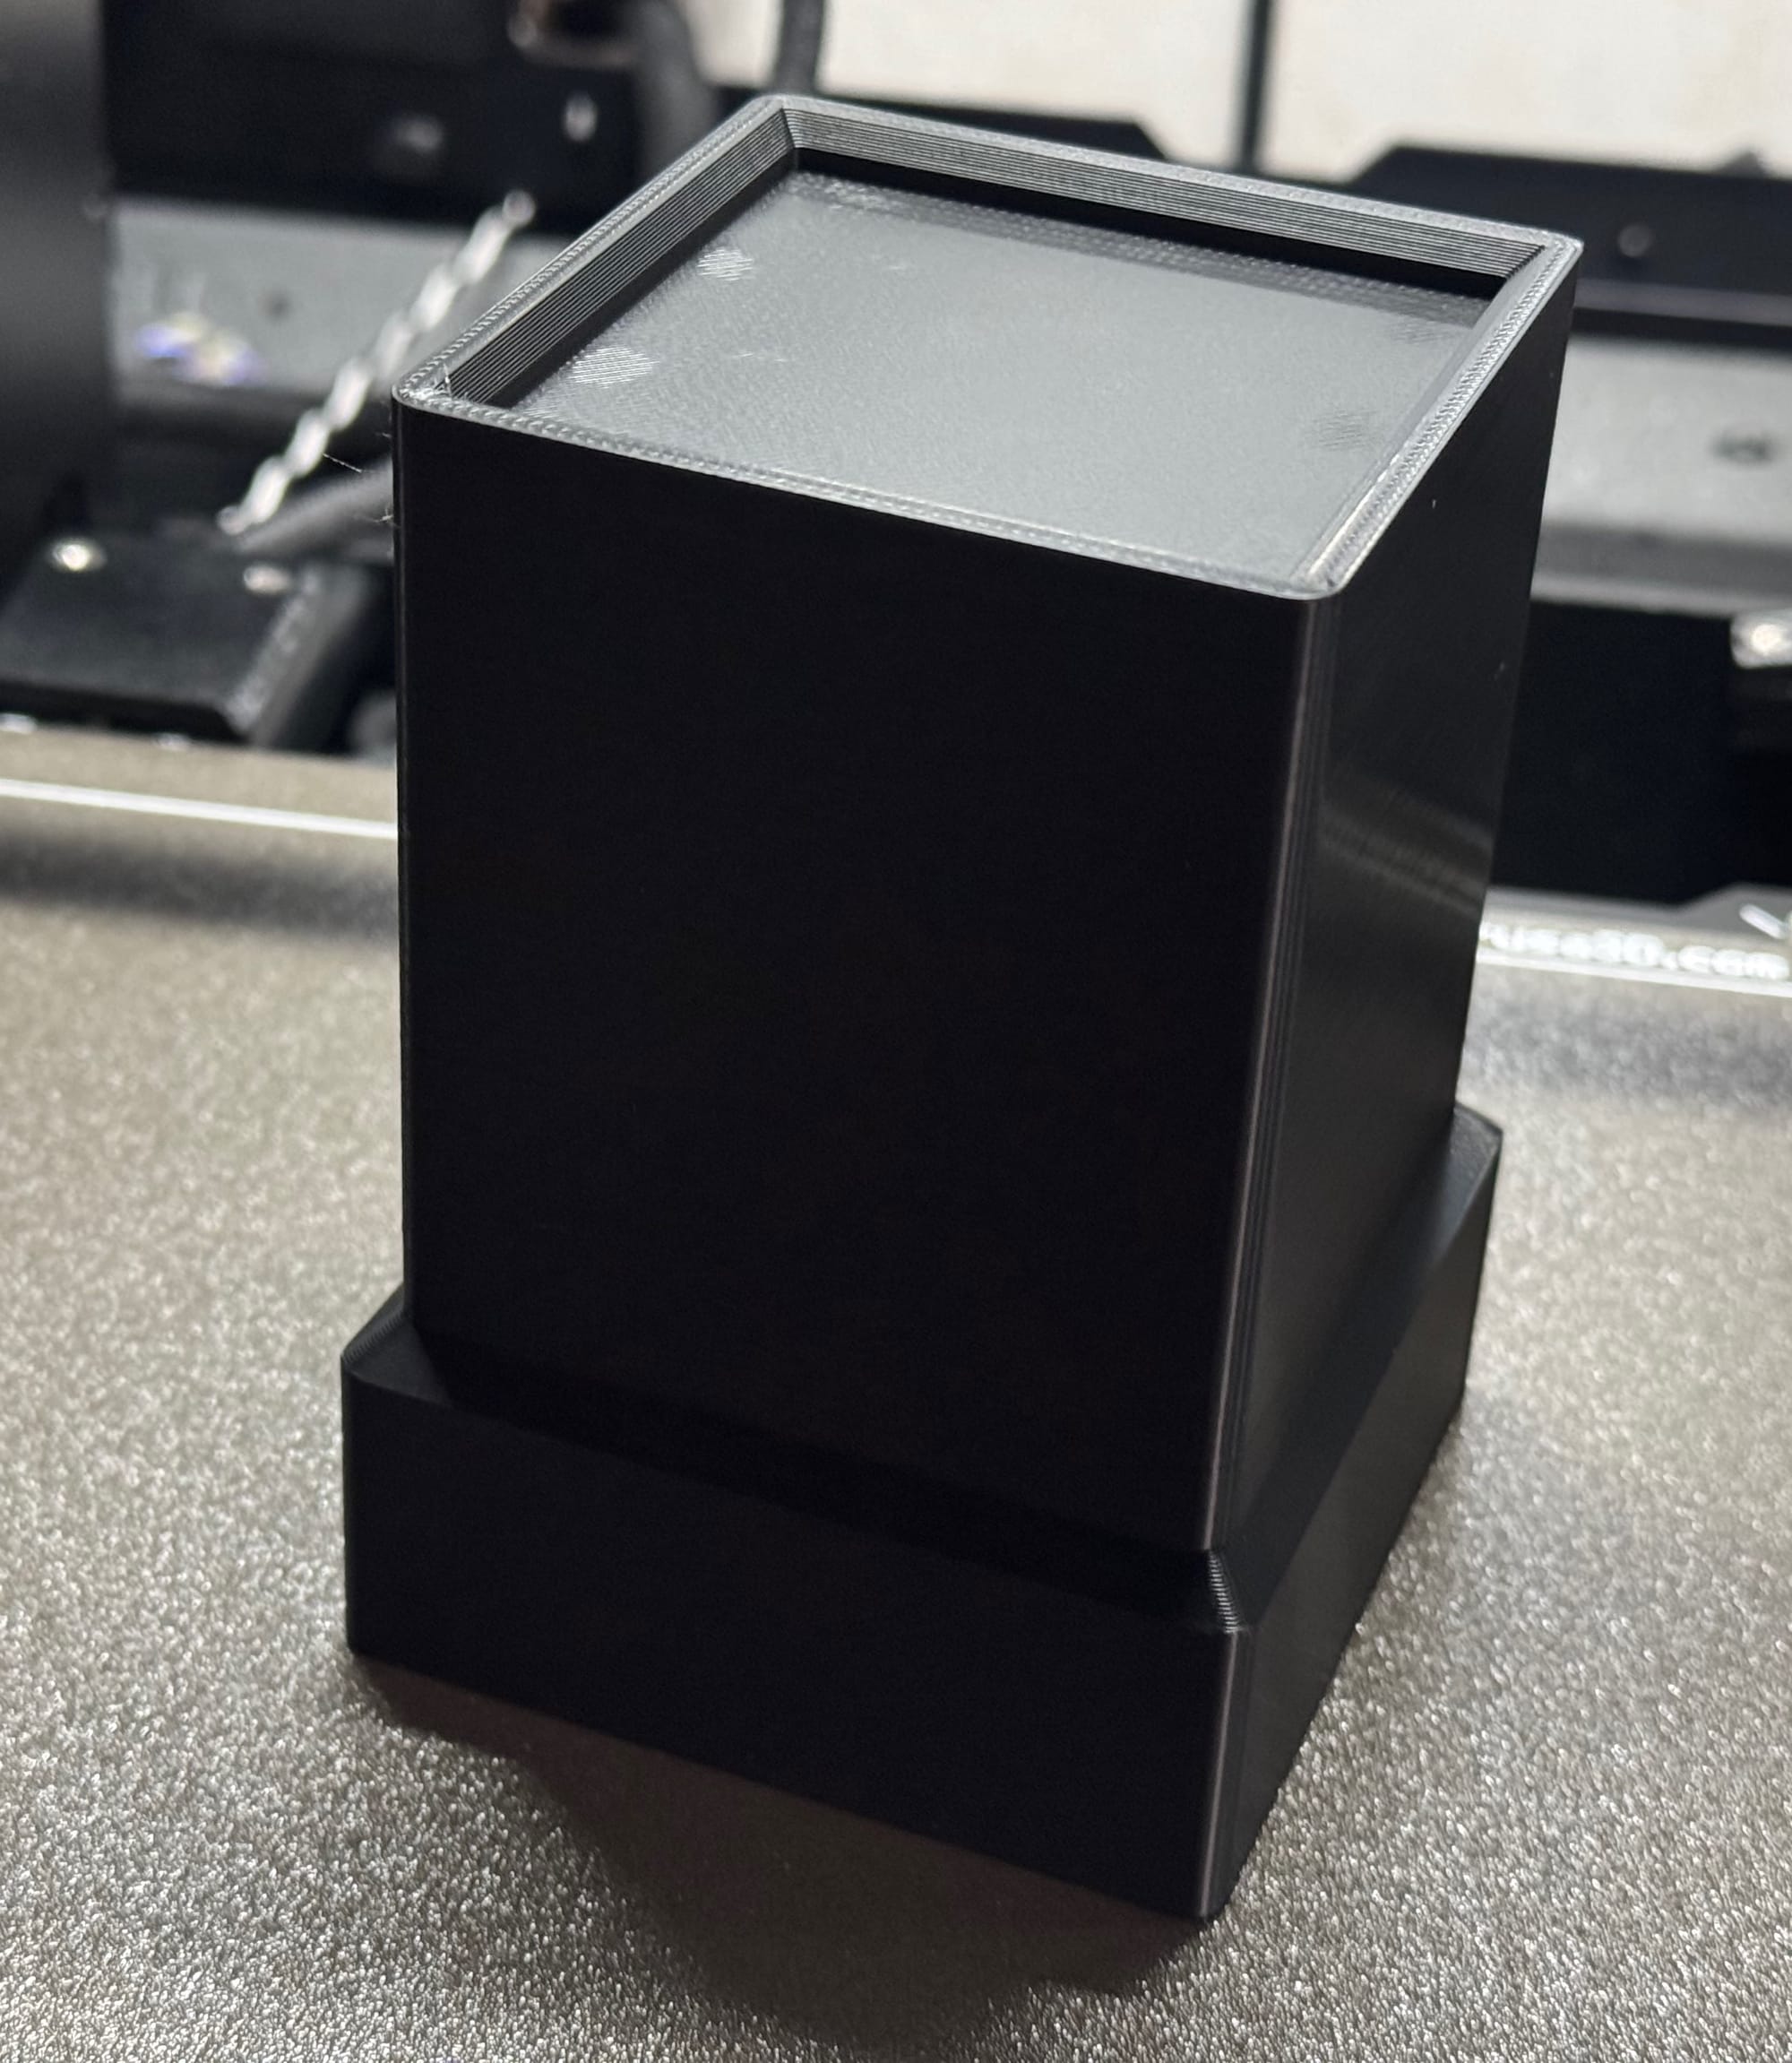
To keep everything in place, I 3D-printed a custom stand.
I just put this under the piston, power it up with USB-PD and heat up the piston in approximately the same time as my water takes to boil.
Together, this setup works perfectly.